Creating Saved Items from historical sales
← Previous · Guide home · Topic index · Download PDF · Next →
Saved Items let you organize historical sale records under a collectible you want to research. This is different from the browser's temporarily restored search results.
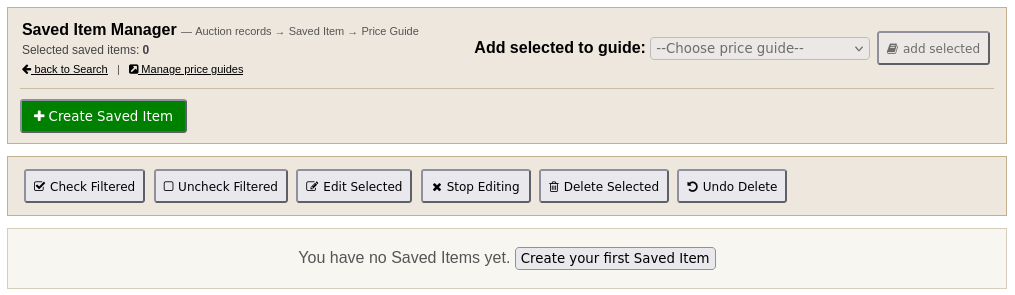
The Saved Items manager lets members create and manage individual saved collectibles. The documentation account shown here has no Saved Items yet.
Continue below for the workflow ↓
Create a Saved Item
Choose Saved Items → Create Saved Item. Give it a Saved Item name that identifies the issue or collectible and add a Description explaining what belongs in this group. Primary item id is optional; use it to designate an existing archived record as the cover image. You can leave it blank until you have chosen an appropriate example. Creating an item does not automatically add any sales.
Add historical records
- Search for a collectible in Search Sales and examine the completed-sale photographs.
- Select only listings that actually belong to the same issue or a clearly defined group.
- Use the Saved Item Organizer to choose the intended Saved Item, or create one from the Saved Items manager.
- Save the selected auction records, then open the Saved Item to inspect and manage its data.
- Return to the Price Guide Manager when the Saved Item is ready to include in a guide.
Do not combine a mixed lot with a single-patch sale without noting the difference. Preserve the seller's original wording where useful, but distinguish it from your own issue identification.
The next documentation stage covers the Saved Item's analyze plotting tools, bulk annotations, and the Price Guide proof view using real, populated examples.